Side Bunk Panel Windows - Ep 4 | Mercedes Sprinter
Posted By
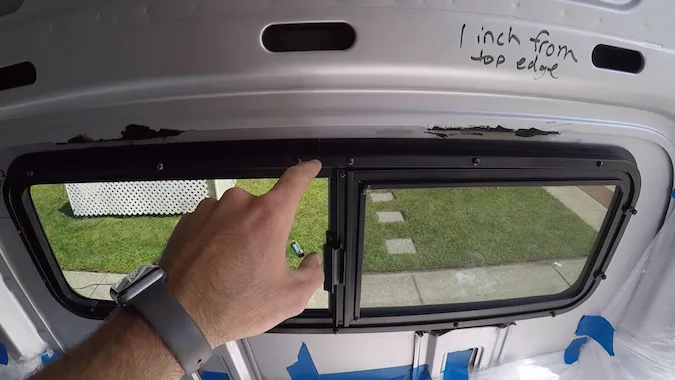
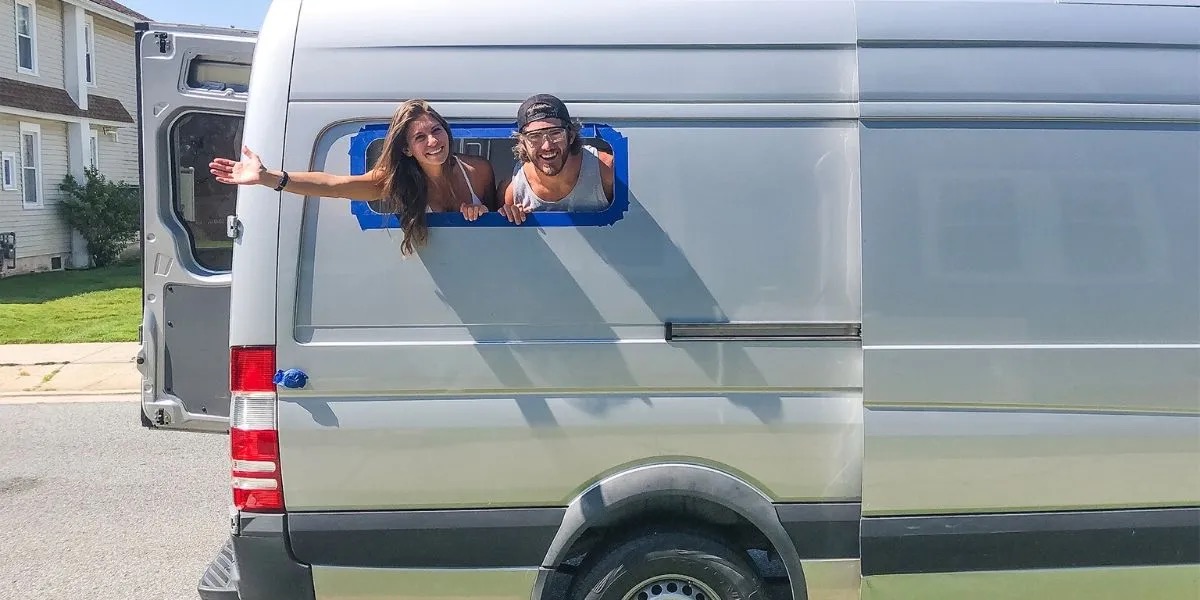
Overall this project is doable but takes precision because you can cause serious damage to your vehicle. The most important thing to watch out for is cutting off the ribs of the window. You need to ensure you do not cut through the wall of the van when removing the ribs. If you do that you should be good to go! We purchased the side panel bunk windows from CRL through Amazon and really like them. The windows come with a screen over the sliding hatch to allow ventilation into the bedroom area without worrying about anything flying into your van. This is critical for nights when it’s really hot outside and we need good airflow. Before we get into each step of the side panel bunk window installation, below are the tools used. Passenger Bunk Window: https://amzn.to/2NLfp80 Driver Bunk Window: https://amzn.to/2HFkqv4 Butyl Tape: https://amzn.to/2UcsIiP Metal Filer: https://amzn.to/2NHDtbT Window Glass Suction Holders (We got our at Harbor Freight but these should do the trick): https://amzn.to/2Hb7tZo Painter’s Tape: https://amzn.to/2HbIk0W Grinder: https://amzn.to/2ZGOM6w
0 Likes
Mod Specifications
Mod Category
WindowTotal Time
About a daySize
Mega ModDifficulty
MediumTotal Cost
RV Details
Type of RV
CustomMake
MercedesSeries
SprinterModel
Year
2015How to | Side Bunk Panel Windows - Ep 4 - Mercedes Sprinter
View helpful step by step instructions on how to complete the “Side Bunk Panel Windows - Ep 4” mod on a 2015 Mercedes Sprinter along with the products and tools that you’ll need to effectively accomplish the job. This Window mod was considered medium to do and took about a day to complete.
Sign Up or Login to See “How To” Information
Free membership gives you access to all the available “How to” information including how-to videos, step by step guides, tools used, and the ability to ask questions to the user who completed the Mod.

